Step-by-Step DIY Candle Making Guide for Elegant Home Fragrance
- Harrington Candles
- Feb 9
- 4 min read
Creating your own candles at home is a delightful journey. It invites you to slow down, breathe in the soft scents, and craft something truly personal. Whether you want to add a touch of luxury to your living space or gift a handmade treasure, this guide walks you through every step with ease and grace.
Embracing the DIY Candle Making Guide
Making candles is more than just melting wax and adding fragrance. It’s about choosing the right materials, understanding the process, and enjoying the sensory experience. I love how the gentle flicker of a candle instantly transforms a room, wrapping it in warmth and calm.
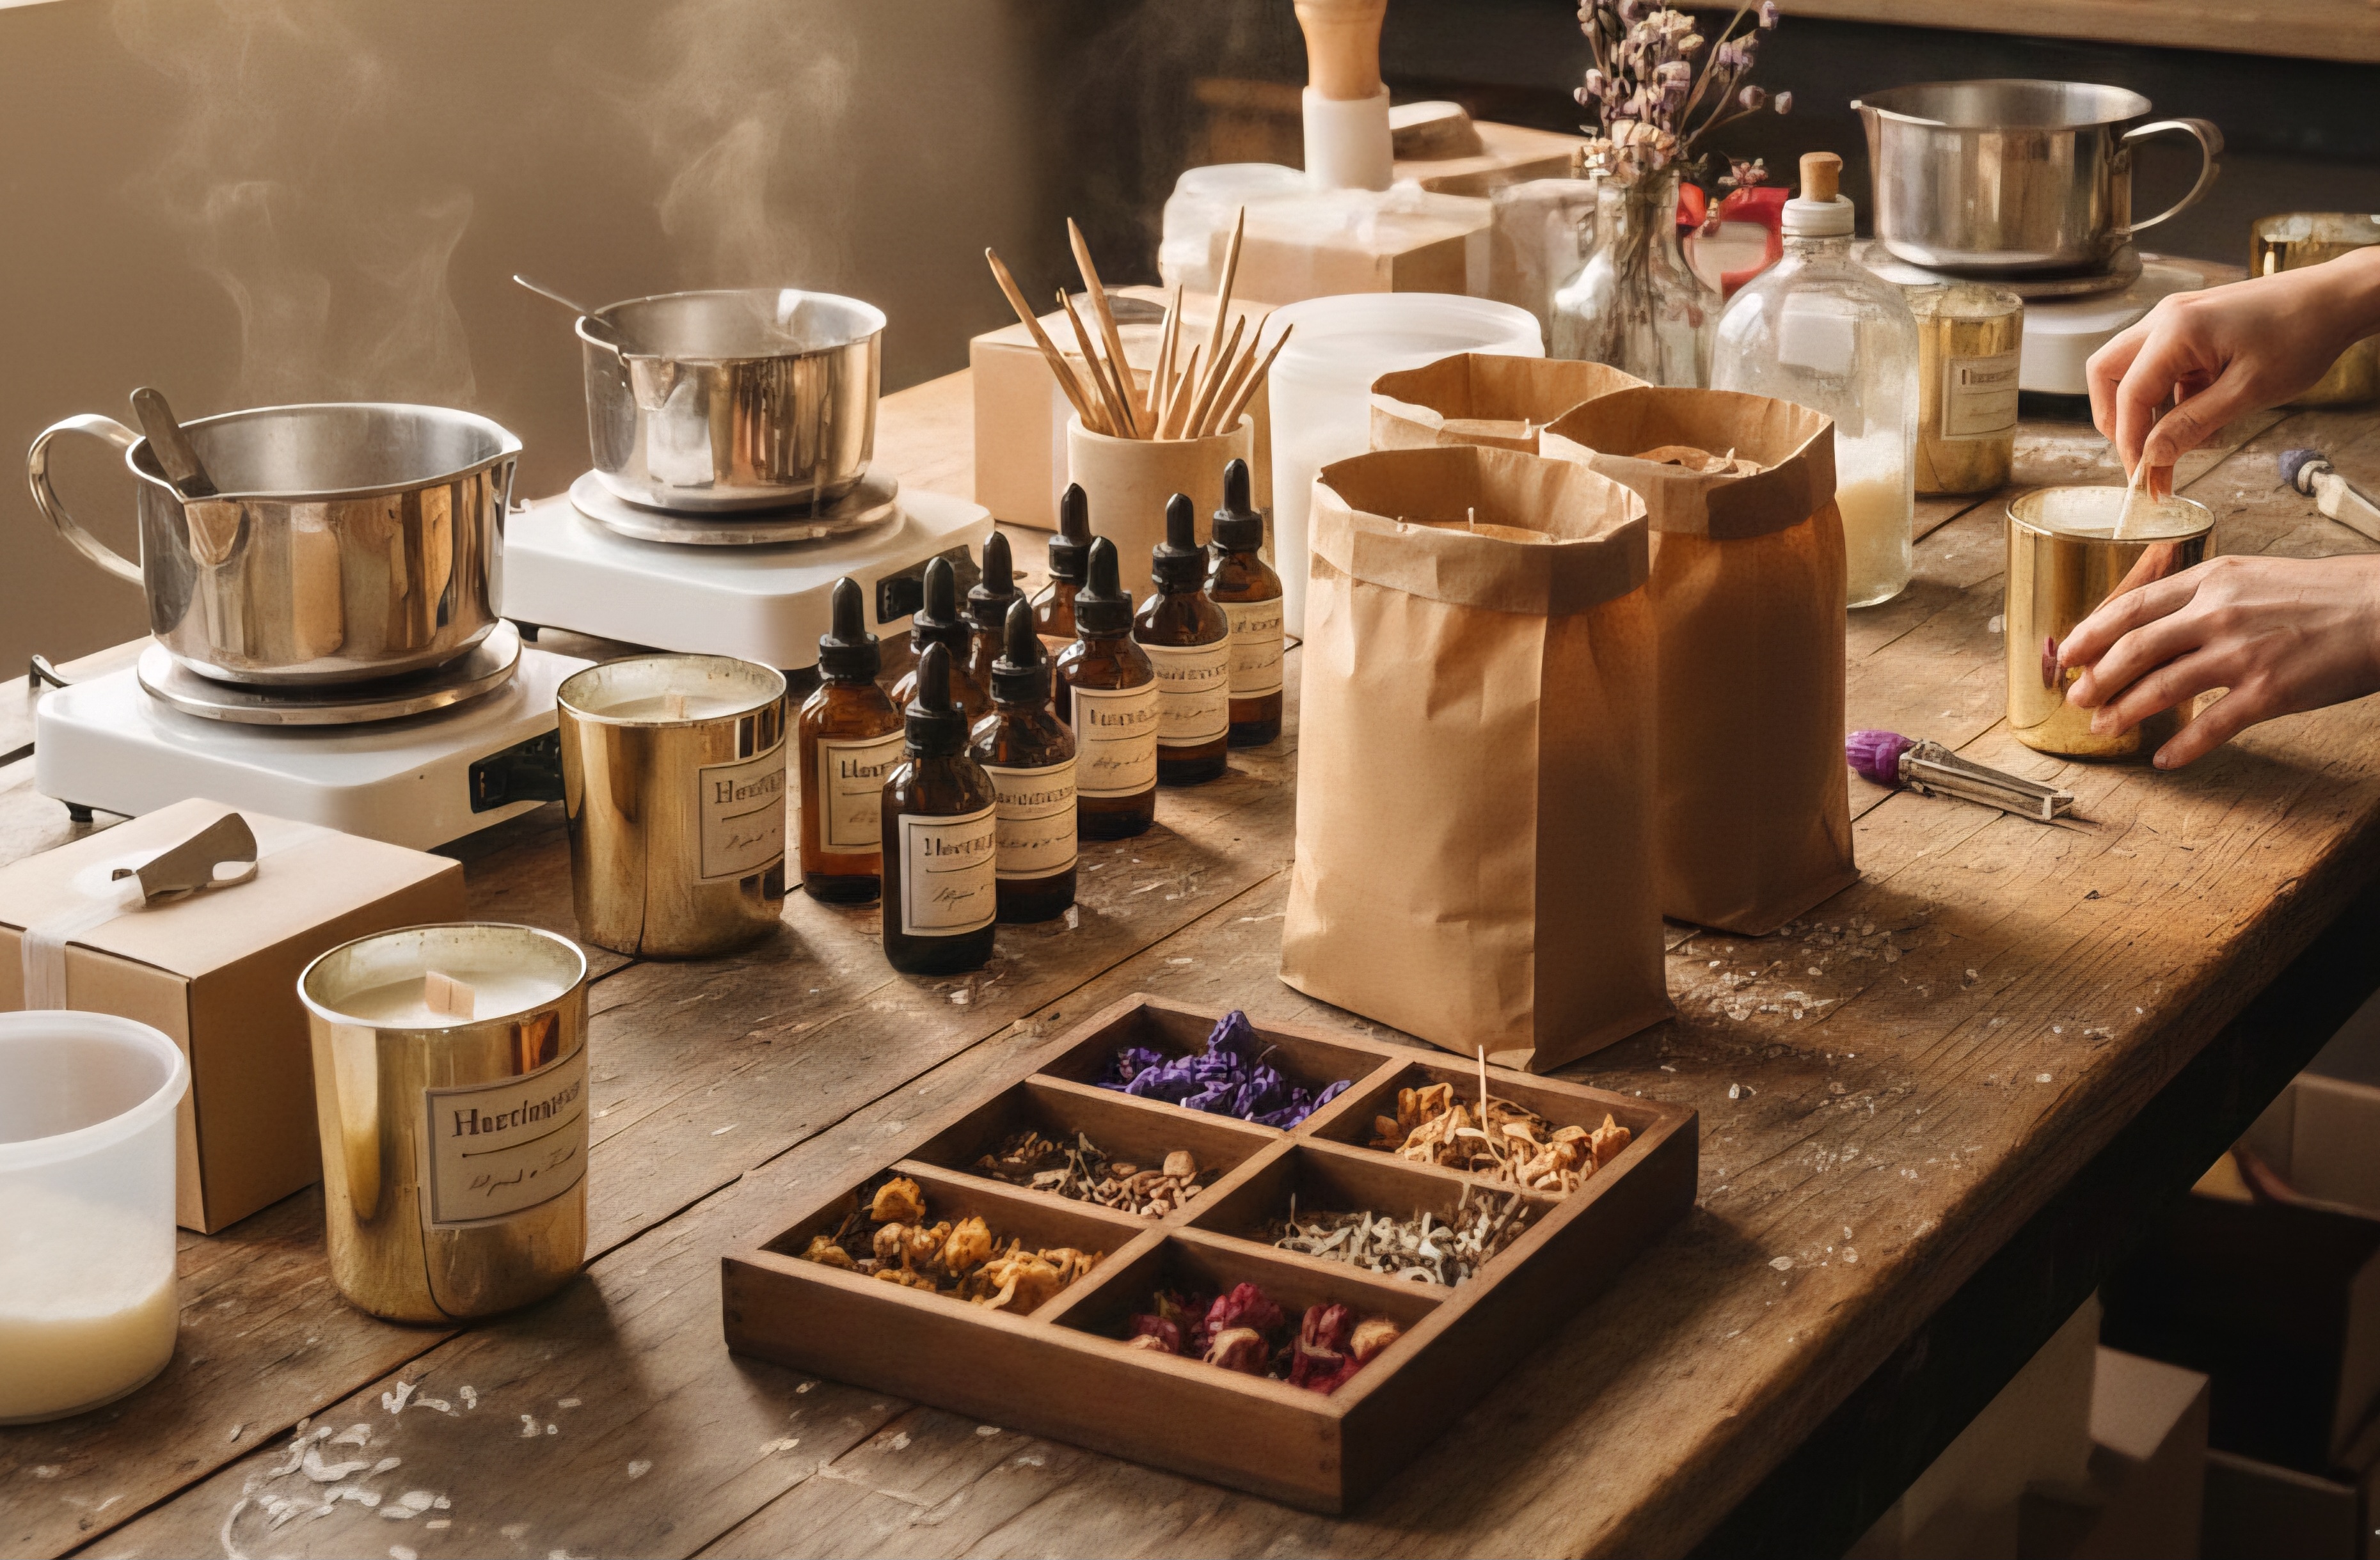
To start, gather your supplies:
Wax: Soy wax is popular for its clean burn and sustainability.
Wicks: Cotton or wood wicks work beautifully.
Fragrance oils: Pick scents that evoke comfort, like lavender, vanilla, or sandalwood.
Containers: Glass jars or tins add a touch of elegance.
Thermometer: To monitor wax temperature.
Double boiler: For melting wax safely.
Stirring utensil: A wooden spoon or heat-resistant spatula.
Setting up your workspace is key. Choose a clean, flat surface covered with newspaper or parchment paper to catch drips. Keep a bowl of water nearby for safety.

Step-by-Step Candle Making Process
Let’s dive into the heart of the craft. Follow these steps carefully to create candles that burn evenly and smell divine.
Measure the Wax
Calculate how much wax you need by filling your container with wax flakes, then doubling that amount. This ensures you have enough to fill the jar once melted.
Melt the Wax
Use a double boiler to melt the wax gently. Keep the temperature between 70-80°C. Stir occasionally to help it melt evenly.
Add Fragrance
When the wax reaches about 65°C, add your fragrance oil. The typical ratio is 6-10% fragrance to wax weight. Stir slowly for 2 minutes to blend the scent thoroughly.
Prepare the Container
While the wax cools slightly, fix the wick in the centre of your container. You can use a wick sticker or a dab of melted wax to hold it in place.
Pour the Wax
Pour the wax slowly into the container, leaving a small gap at the top. Keep the wick centred as you pour.
Secure the Wick
Use a wick holder or a pencil laid across the top of the jar to keep the wick straight while the wax sets.
Let it Cool
Allow the candle to cool at room temperature for several hours. Avoid moving it to prevent cracks or uneven surfaces.
Trim the Wick
Once fully set, trim the wick to about 1cm above the wax surface. This helps the candle burn cleanly.
This candle making process at home is simple yet rewarding. Each step invites you to slow down and enjoy the tactile, fragrant experience.

What is the 8:10 Rule for Candles?
The 8:10 rule is a handy guideline for candle makers. It refers to the ideal wick length and burn time to ensure a clean, even burn without excessive soot or tunnelling.
8mm wick diameter: Suitable for candles with a diameter of about 10cm.
10 minutes burn time: The candle should burn long enough to melt the wax pool to the edges within 10 minutes.
Following this rule helps prevent common issues like uneven burning or wick mushrooming. It’s a simple way to balance wick size and candle diameter for optimal performance.
When you trim your wick to 1cm, you’re setting it up to follow this principle. It’s a small detail that makes a big difference in how your candle performs.
Choosing Sustainable and Luxurious Materials
Luxury doesn’t have to mean wasteful. I always opt for sustainable materials that feel indulgent yet respect the environment.
Soy wax: Renewable and biodegradable, it burns cleaner than paraffin.
Cotton or wooden wicks: Natural fibres that complement eco-friendly wax.
Essential oils or phthalate-free fragrance oils: For pure, safe scents.
Reusable containers: Glass jars or tins that can be refilled or repurposed.
These choices elevate your candle from a simple light source to a statement of elegance and care. Plus, they align perfectly with a lifestyle that values sustainability without sacrificing style.
Tips for Perfect Candle Making Every Time
Here are some practical tips I’ve learned to make your candle making experience smooth and enjoyable:
Keep wax temperature steady: Overheating can degrade fragrance and cause poor burning.
Use a thermometer: It’s the best way to monitor wax temperature accurately.
Test your wick: Different waxes and container sizes may need different wick types.
Avoid drafts: Let candles cool in a draft-free area to prevent uneven surfaces.
Label your candles: Note the fragrance and date made for future reference.
Experimenting with colours, scents, and containers is part of the fun. Start simple, then explore more complex designs as you gain confidence.
Bringing Warmth and Elegance to Your Home
Making candles at home is a gentle art that fills your space with light, scent, and love. Each candle you create carries a story - your story. It’s a way to add a personal touch to your décor or offer a thoughtful, handmade gift.
I hope this guide inspires you to try the candle making process at home and discover the joy of crafting your own luxury candles. The soft glow and subtle fragrance will welcome you and your guests into a world of calm and elegance.
Happy candle making!


Comments